Graphic Templates
Looking to create great looking social posts and ads? Look no further, we have got you covered.
Design easily.
The purpose of creating these templates is simple: take out the scary “design process” of creating ads and social media content, and get straight back to marketing your ideas. The design process can seem very overwhelming at times, and by using these templates, that process is minimized. Plus, these templates are an incredibly easy way to keep your brand looking professional and clean.
The first thing you have to do to start using these templates is download the program Figma, which can be found at Figma.com. This is a free design tool that anybody can use. Figma is not only the easiest way to automate your design process, but also prototyping web pages.
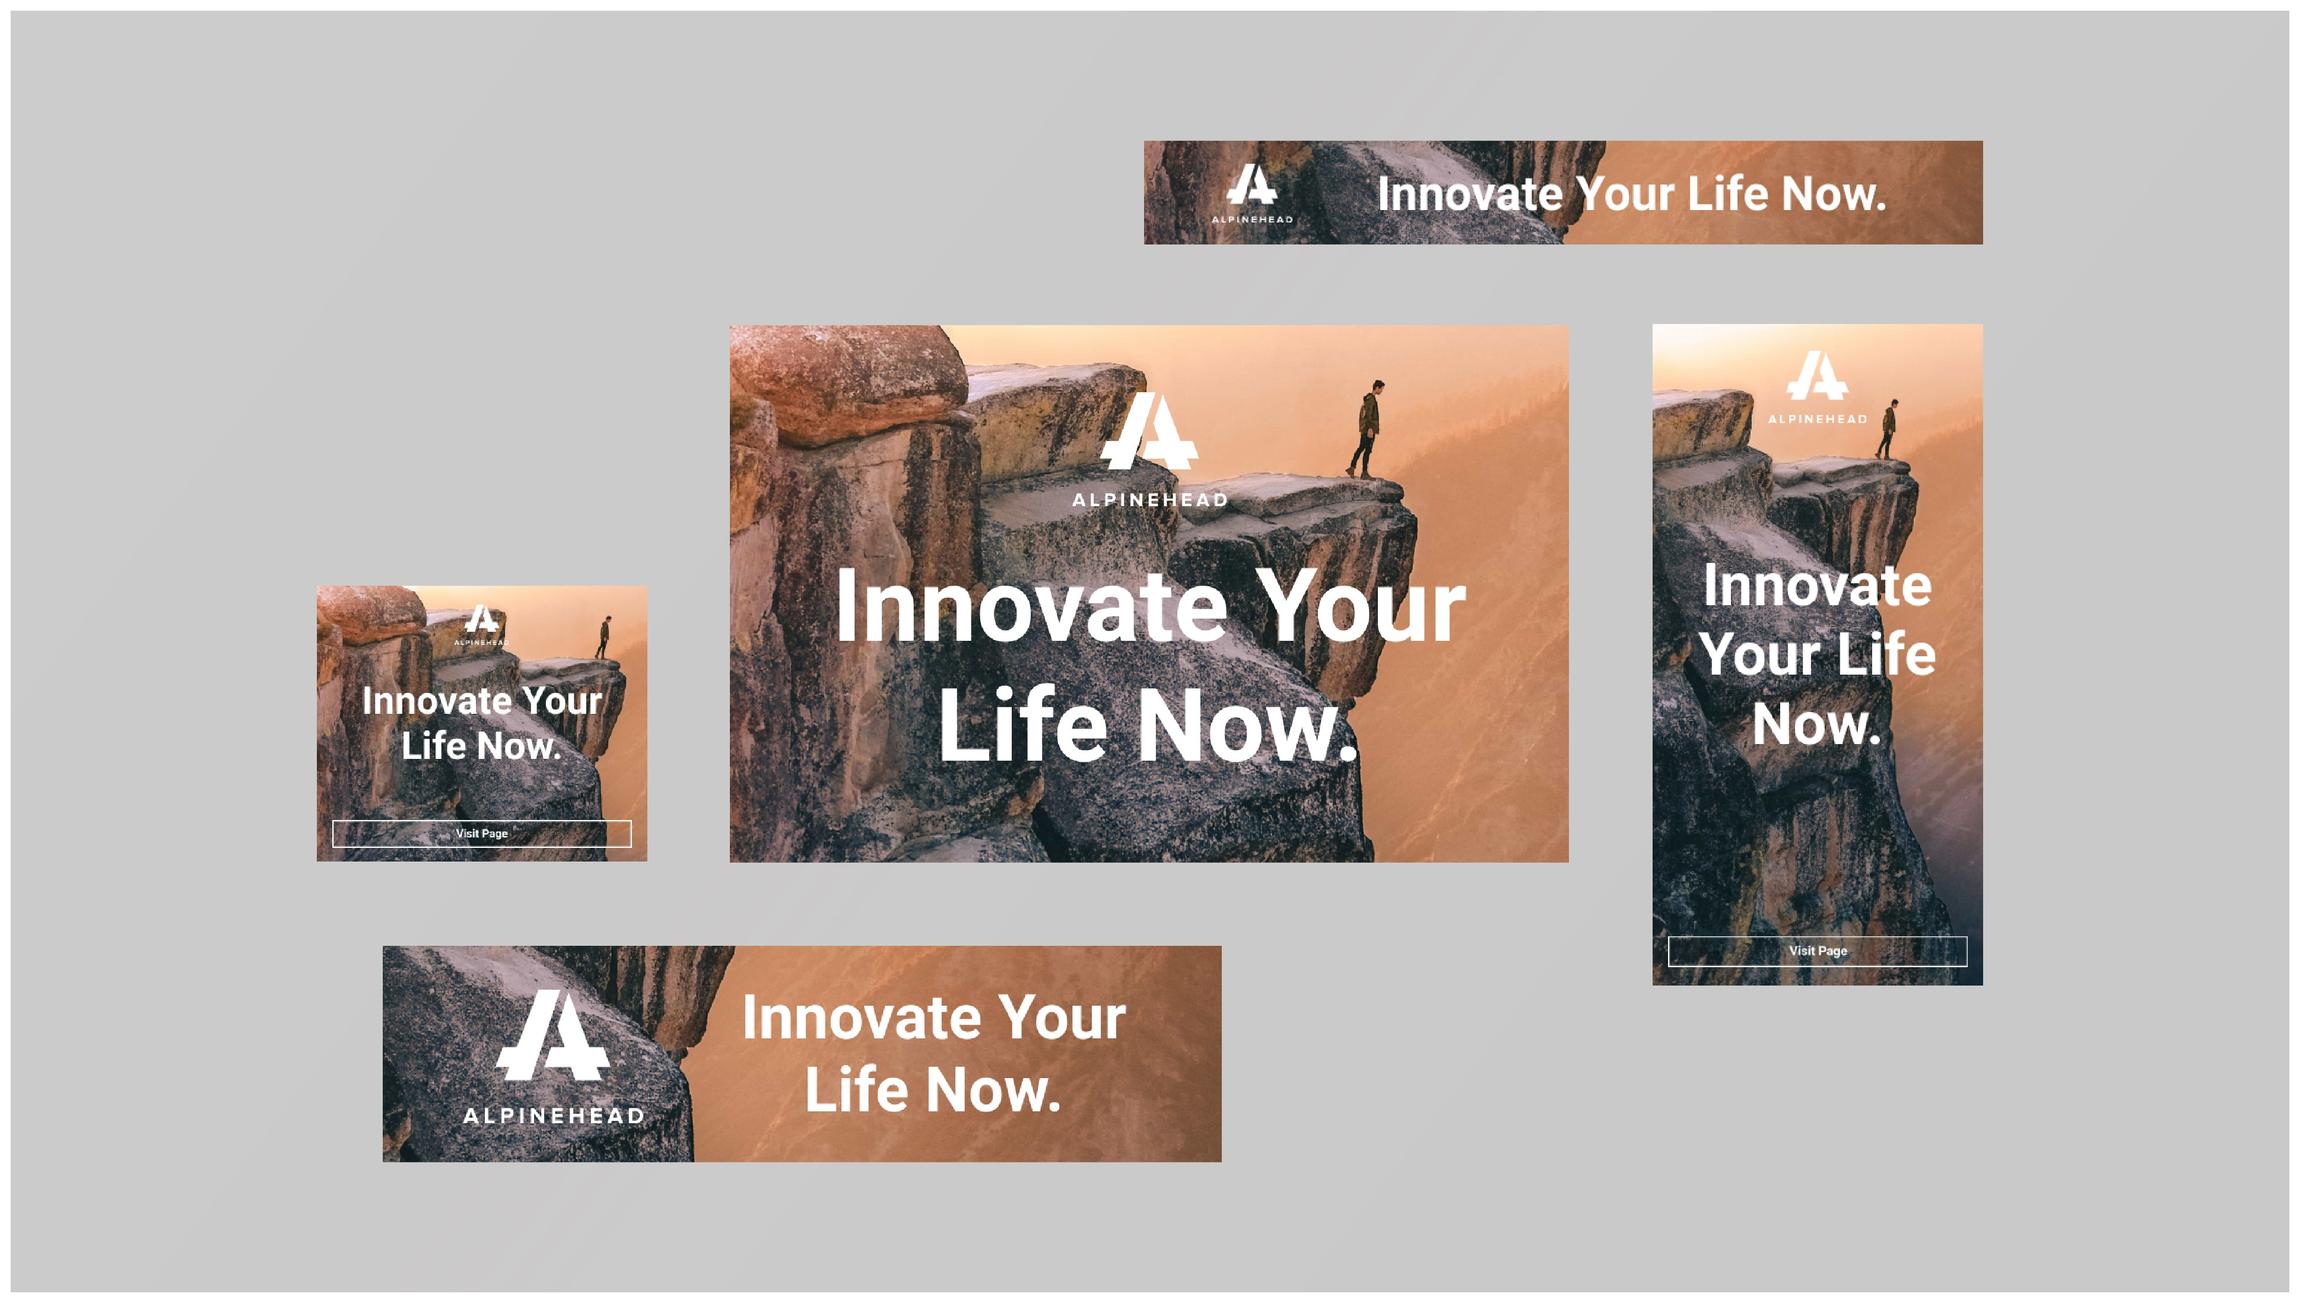
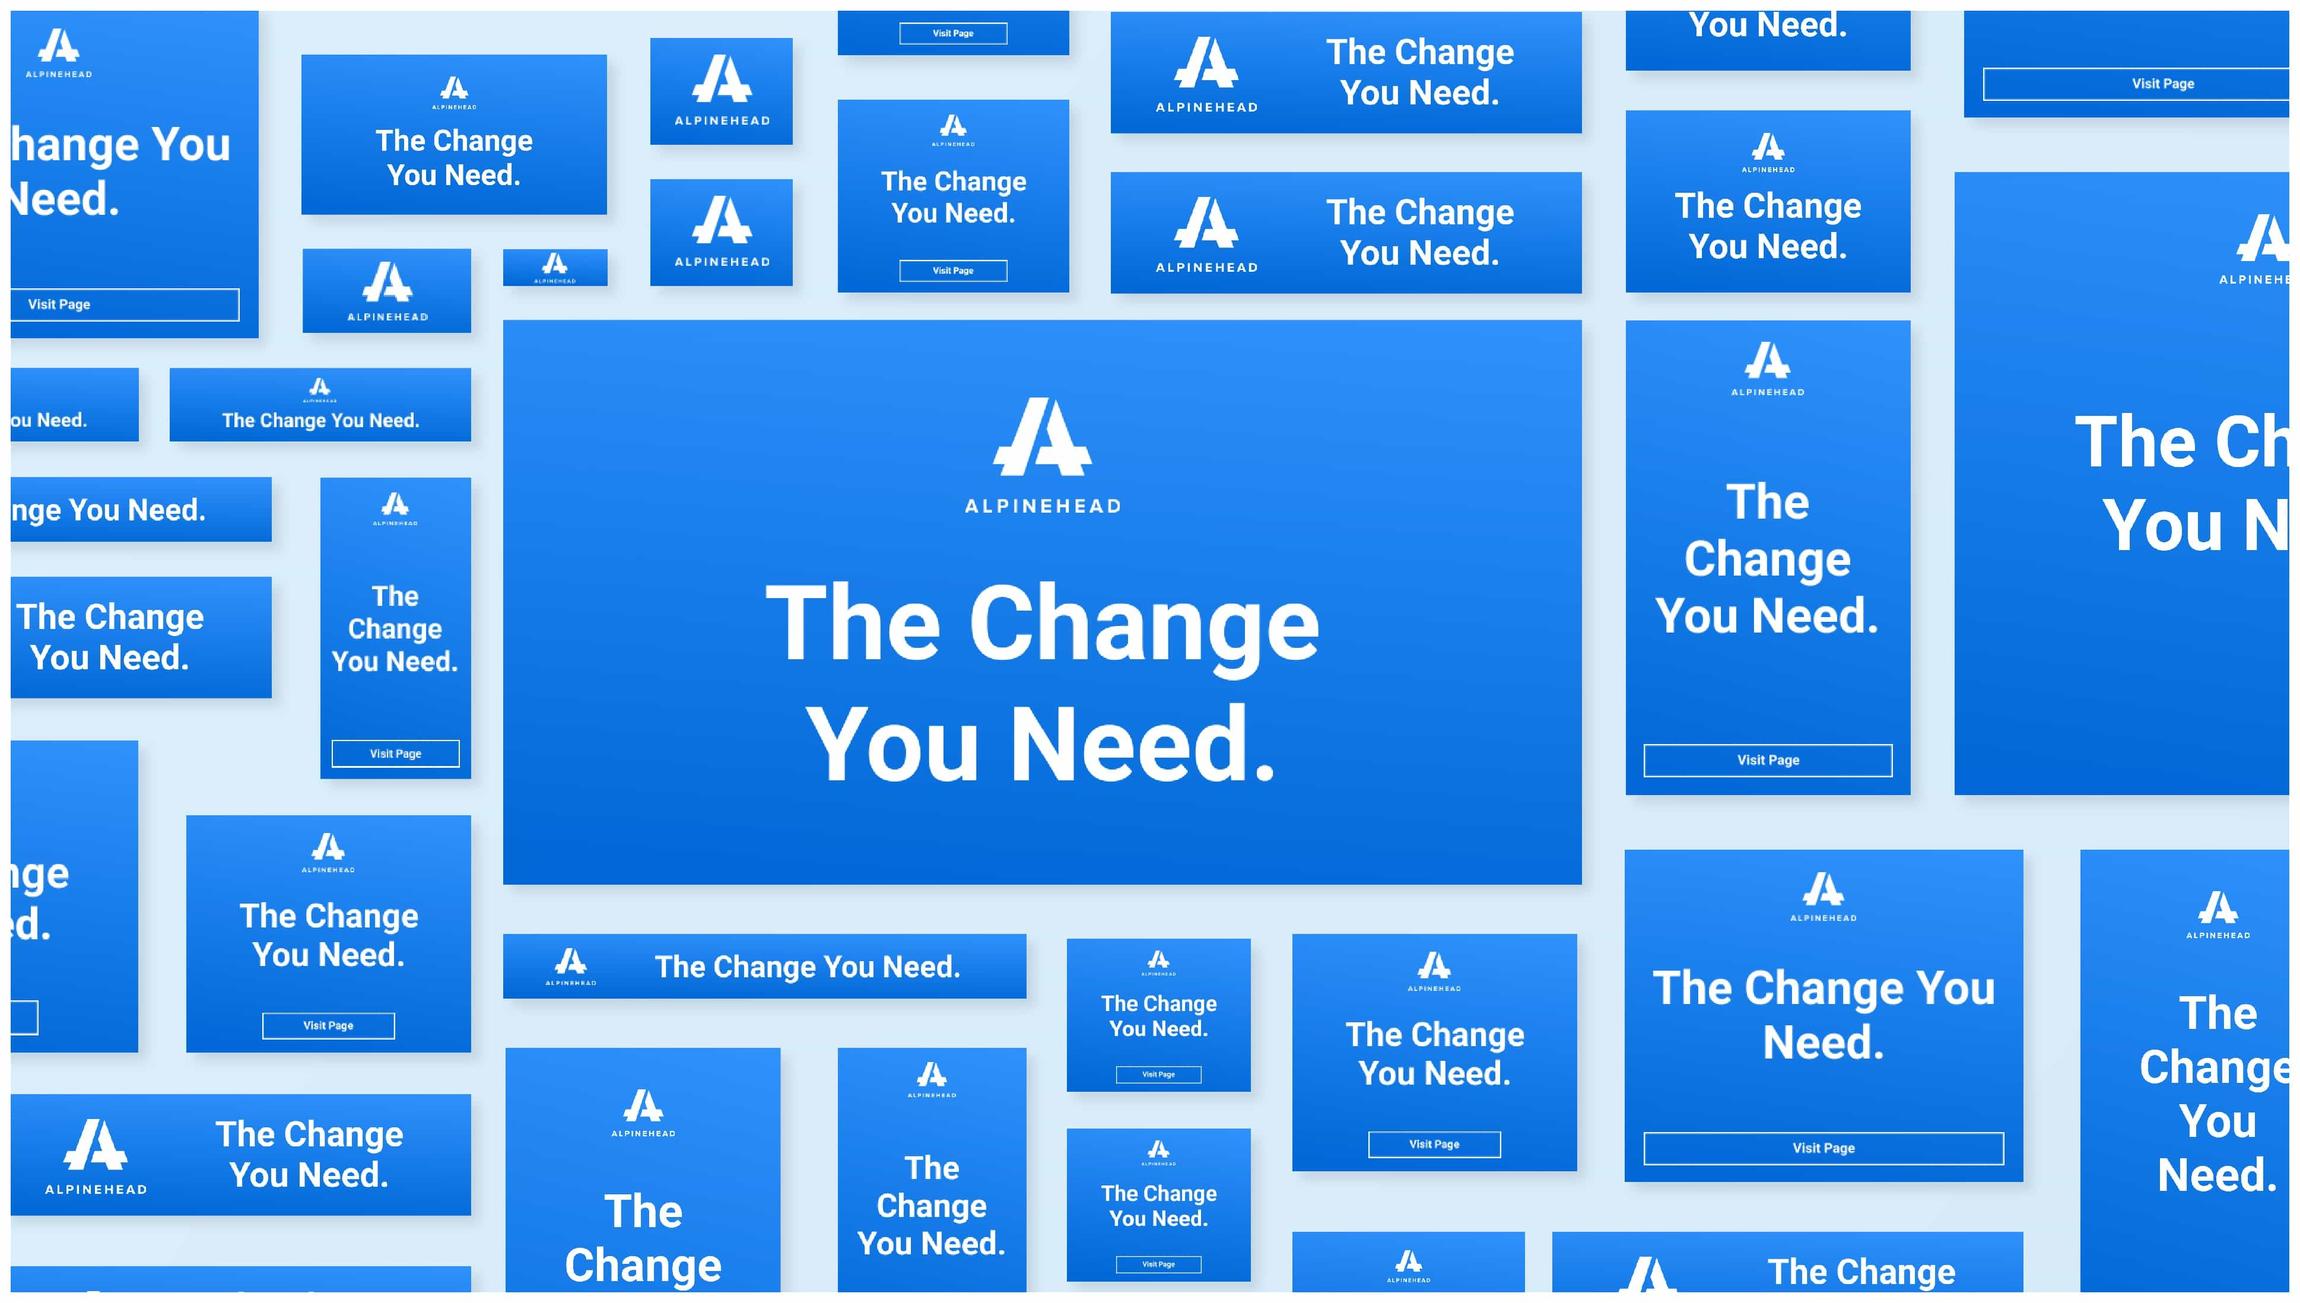
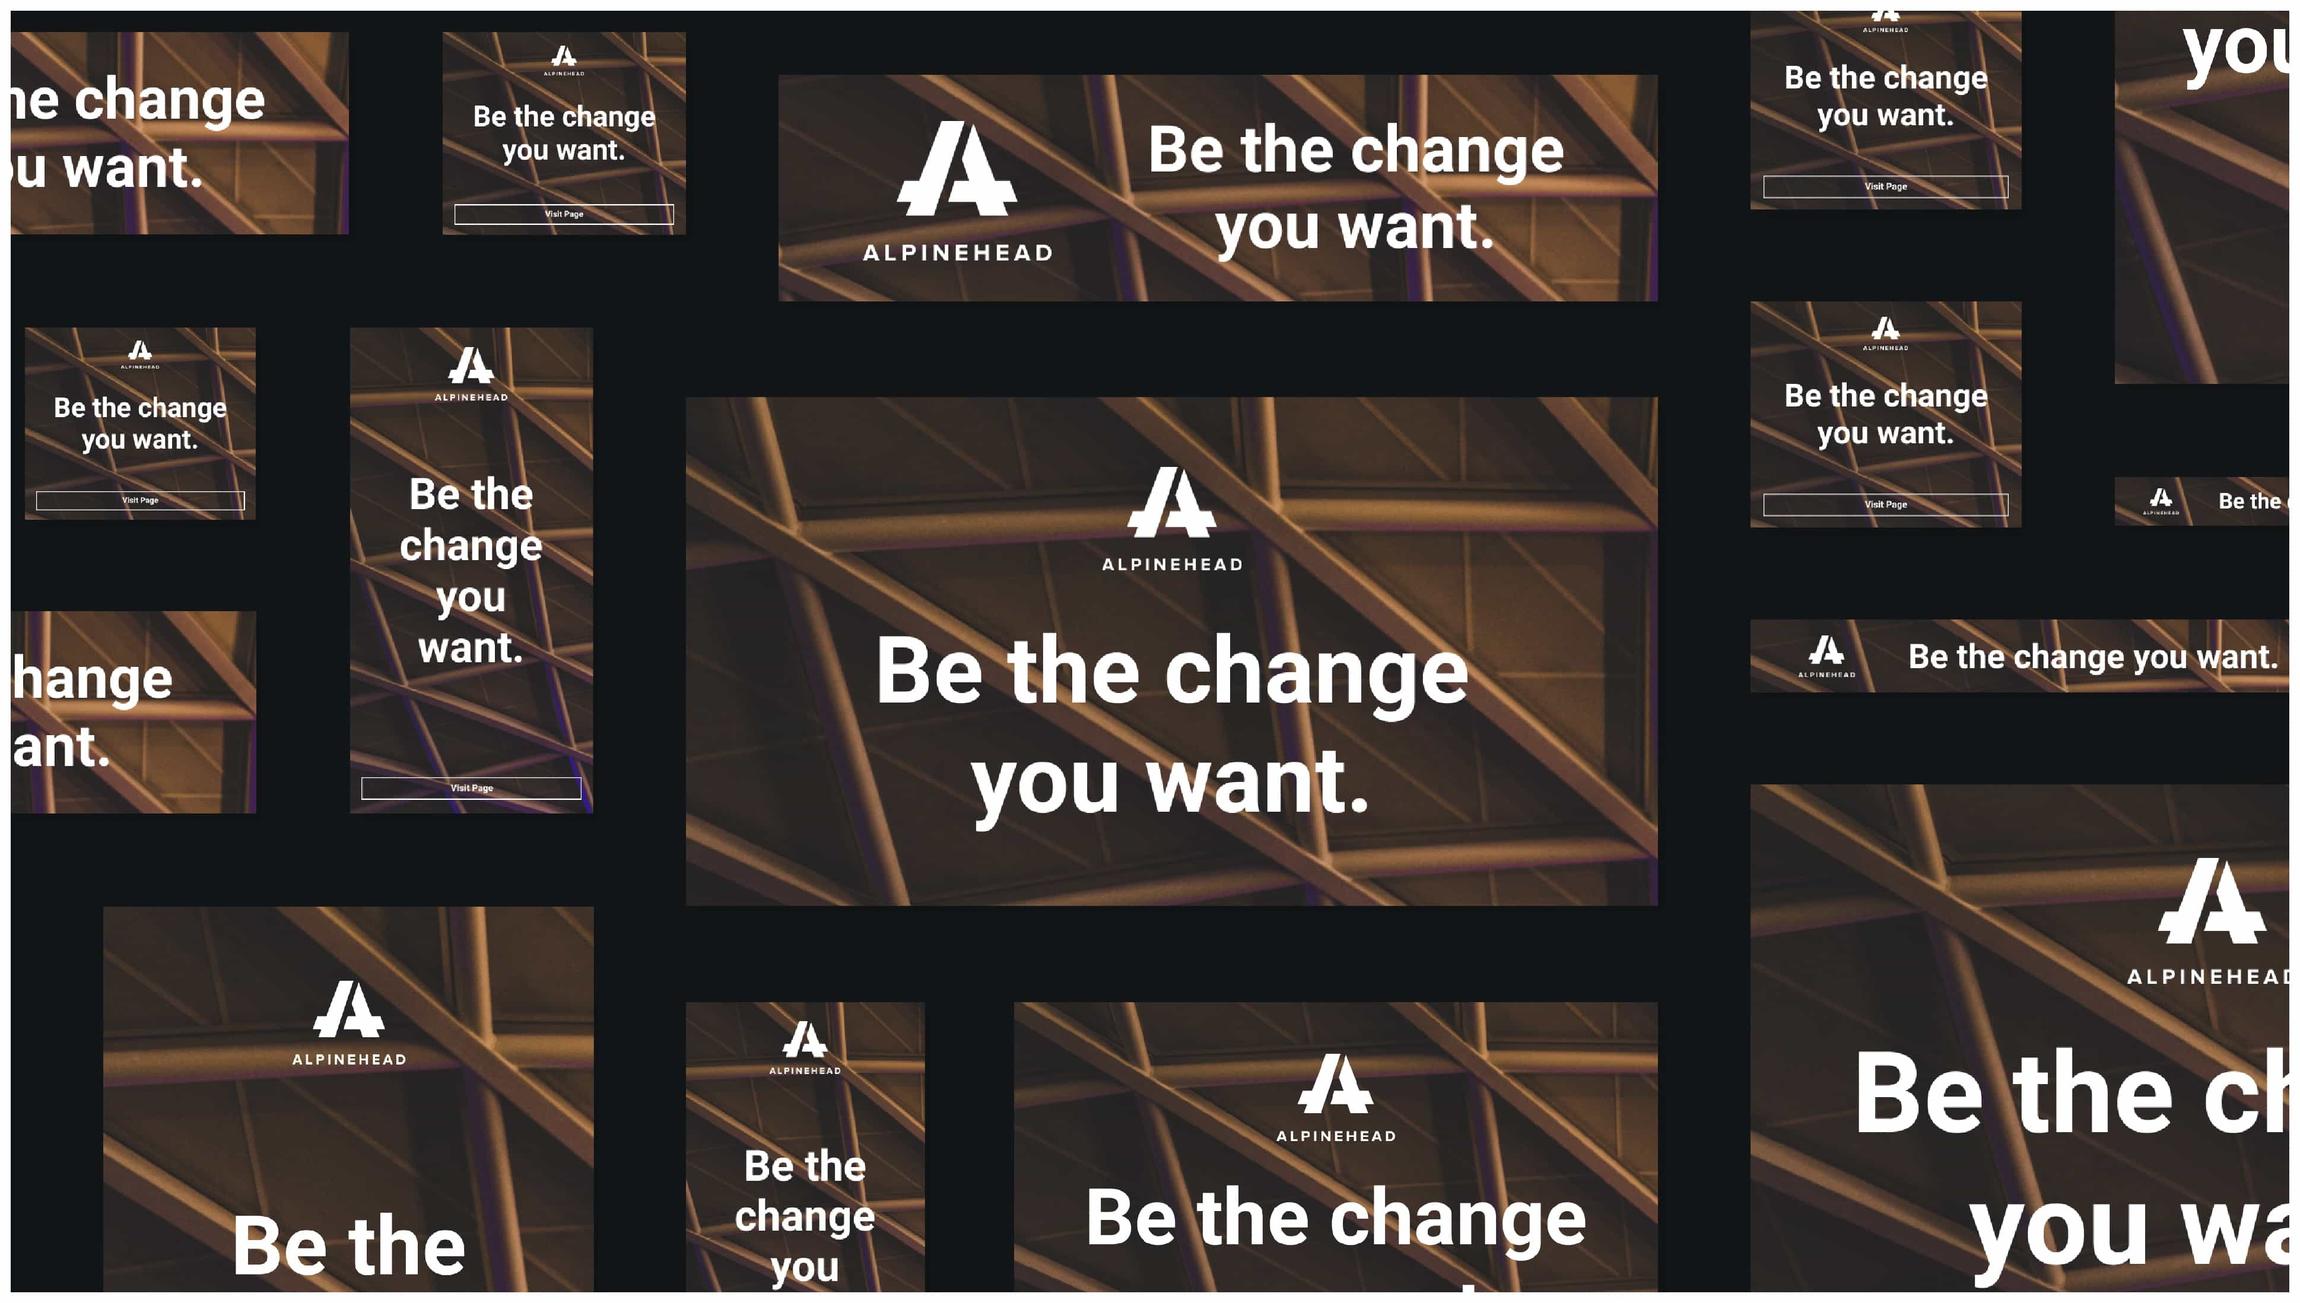
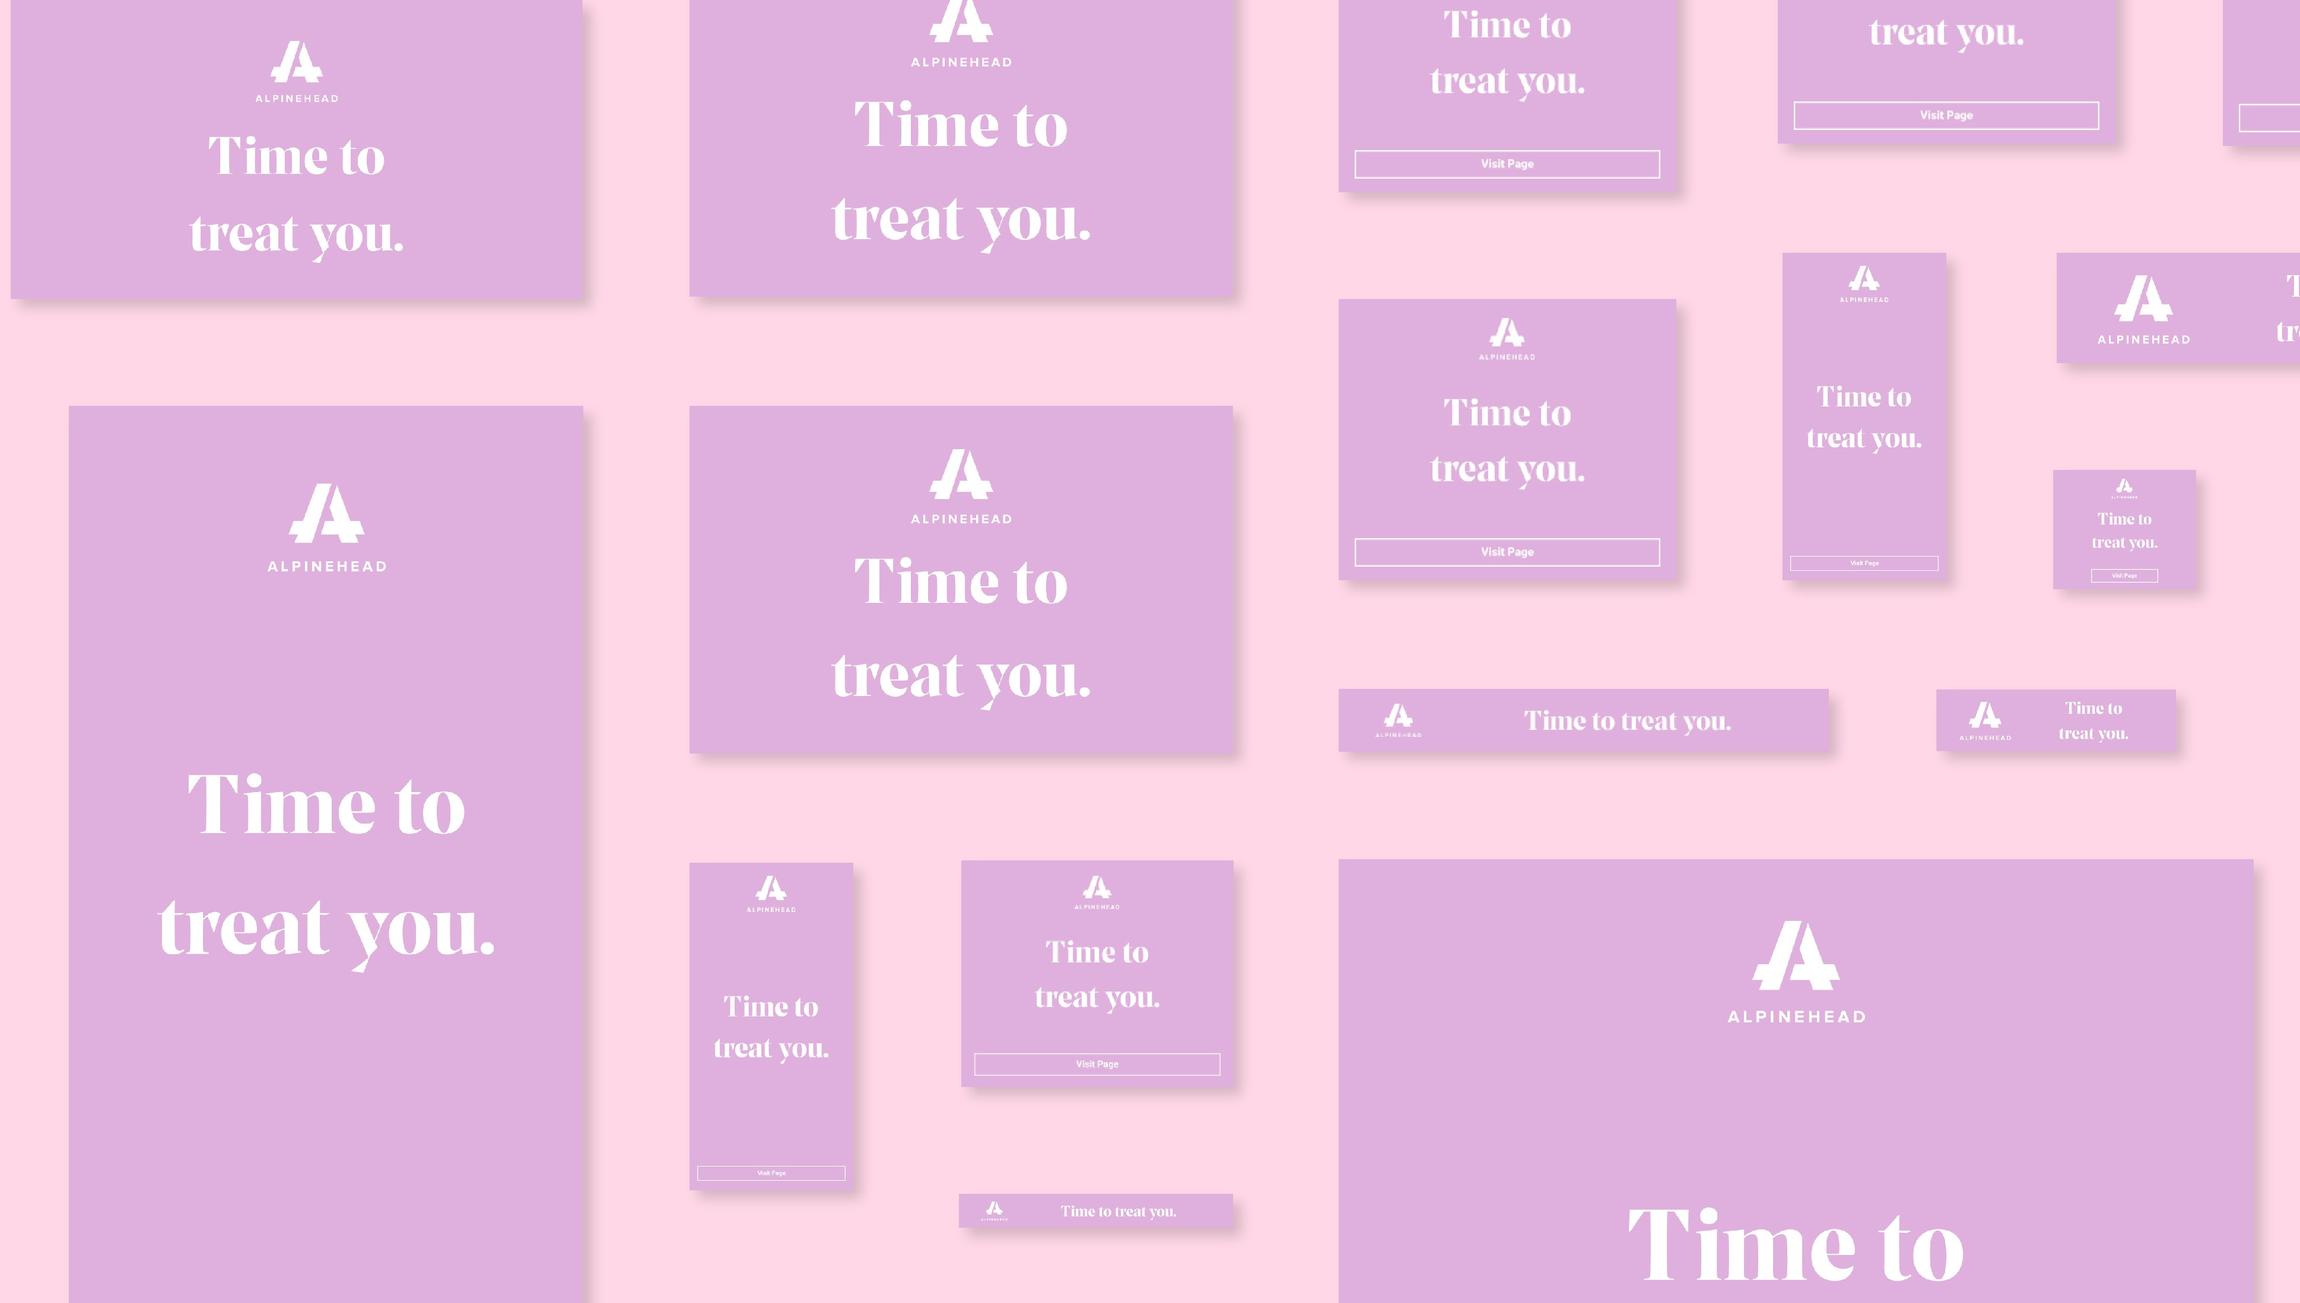
A few examples of the graphics you can create with this template.
Working with Figma.
Working with Figma can seem a little complicated at first, but understanding a few concepts is the only thing you need to start creating beautiful ads and graphics.
The first concept you need to know is Frames. These are the different canvases you will create your graphics on. Frames can be viewed from the main screen, and on the left navigation panel you can view what elements live on each Frame. We’ve gone ahead to create the most used ad and social media sized Frames (A total of 20 assets!) Every frame is labeled by their size and purpose. Please know that Facebook and Twitter sized frames can be used interchangeably.
The second concept you need to know is Components. This is the magic of Figma. Components are the repeatable elements that allow you to make one change in one instance, and it will repeat across all 20 Frames. Components can be anything from logos, backgrounds, headlines, or whatever you need in your Frames. This can save a ton of time and is what makes these templates so great.

Opening the wonderful world of Figma.
Change Headlines
Go to the Frame that is all the way to your left, labeled “Master Frame." This is where all of the Master Components live. To change a headline across all your Frames, simply double click on the headline in the Master Frame, and change the text. You will see that this is reflected across all 20 Frames. If you see that some of the text is spilling off of the Frames, or sizing isn’t quite right, you will need to learn how to scale.
How to Scale
Scaling is incredibly important to keep your assets looking perfect and clean in Figma. To scale Components, access the Scale tool by clicking and holding the Move tool in the top left panel, and scrolling down to Scale (or simply press K on your keyboard). This will allow you to scale down any Component on any Frame.
Change Backgrounds
To change backgrounds, you will need to know how to view your Component assets in the Master Frame. To do this, scroll to the bottom of the left side panel to the Master Frame section, and you will see Components labeled “BG - XXX”. When you hover over the Component, and small carrot mark that points to the right will appear. Click on this carrot mark. You can now see what lives inside each Component. To make a different background visible, simply hide the background elements inside the background Components that are above it inside the Master Frame in the left panel. This can be done by clicking the open eye and closed eye icon when hovering over the dot next to the “BG - XXX” element.
Change Background Color
To change the background color, click on the “BG - Solid Rectangle” asset inside the “BG - Solid Color” Component inside the Master Frame. This will open up your settings for this element on the right panel. Under “Fill” you will see the color being used along with the hex code used to denote the color. Click on the box with the color or the hex code to change the color, and this will be changed across all Frames.
Change Background Gradient
To change the background gradient, click on the “BG - Gradient Rectangle” asset inside the “BG - Gradient” Component inside the Master Frame. This will open up your settings for this element on the right panel. Under “Fill” you will see the gradient being used along with the type of gradient. Click on either to change the colors being used in the gradient, or the type of gradient being used.
Change Background Photo
To change the background photo, drop your photo over the Master Frame and position and scale accordingly. Be sure the new photo is placed inside the “BG -Photo” Component in the left panel, and delete or hide the “Placeholder Photo.” This will make the photo available across all 20 Frames, but may need some scaling.
Change Logos
Much like changing the background photo, drop your new logo over the Master Frame and position and scale accordingly. Make sure the logo is also placed inside the "Logo" Component. This will make the logo available across all 20 Frames, but may need some slight scaling and positioning on a few Frames.
Create Your Own Components
To create your own component, place the asset inside the Master Frame. Select and right-click the asset, and select “Create Component”. To add to every frame, copy the component (Select the component and press Command-C for Mac or CTRL-C on Windows) and select the frame on the left panel you would like to add it to, and paste (Command-V on Mac or CTRL-V on Windows). Positioning and scaling may need to happen depending on the type of Component you create.
Change Text Styles
To change the orientation or style of text, select the text inside the Component inside the left panel. This will open up your text settings for this element on the right panel.
Why are some things missing on different Frames?
To ensure clear communication, we omitted some Components from select frames. This was either to take out things that would just be confusing (a button on a Facebook image isn’t quite possible) or to ensure that some things were legible (a headline inside a button-sized ad will not be legible).
Export
To export your Frames, select the Frame(s) you would like to export in the left panel. On the right panel, select the bottom main option labeled “Export.” This will give you the option to export your Frames.
What are you waiting for?
You have everything you need to start designing great graphics.
